Quick guide 🇬🇧
📋 Contents
ℹ️ General information
Handling 📦
🤓 Please always carefully read the entire user manual of your UpReach device before setup and usage.
👫 Handle the devices always carefully and in pairs.
🔝 Always move the packages with the right side up and never upside down.
🚯 Remember to keep the packaging as it is needed for the return shipment.
Equipment delivered 🚚
✔️ Please check your delivery immediately after receiving for completeness and potential shipping damage.
📅 Always set up and test your devices at least one day before your event.
Longer idleness 💤
📴 Please always turn off your devices before longer periods of inactivity according to its manual.
🔁 If the device does not respond to your touchscreen inputs or show any other abnormal or defective behavior, restart it as described in the user manual. If this does not solve your issues please contact the UpReach Support.
12/7 support hotline 📞
👩💻 Our specialists in customer service will be happy to assist you with general questions and technical issues from Monday to Sunday, 08:00 - 20:00 (CET) at the following phone number:
+49 (0)30 994 04 84 - 02
🔧 Setup & dismantling
Setting up or dismantling UpReach devices is very simple and can easily done within a few minutes. Usually you only need a power outlet and some space, ideally in front of an evenly colored background (preferably white or light-colored).
For more information on how to set up your UpReach device, please refer to the manuals that were enclosed with the device.
⚡️ Turn on the device
Most UpReach devices - including the UpReach Classic and UpReach Pro - start automatically after connecting them to power. Only some need to be started manually - please refer to the manuals enclosed with the device for further information.
| 1 | Connect the devices to power using the enclosed cables. |
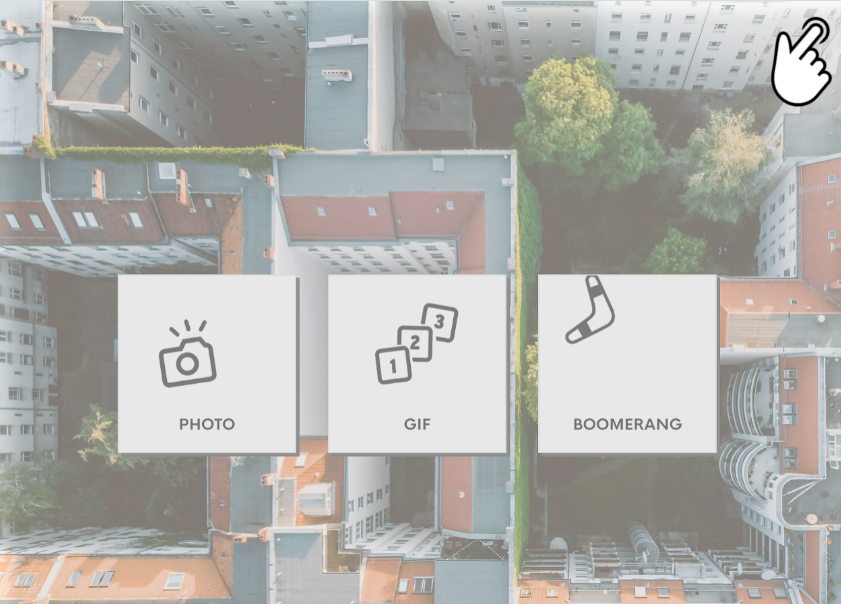
| 2 | Wait for ~60 seconds until the UpReach App has started and your Start Screen | Capture Modes is being displayed. |
| 3 | Now the device is ready to be used. |
🚀 Start the UpReach App
The UpReach App starts automatically after turning on the Photo System. Besides this, it can always be opened manually by tapping on the “UpReach App” icon in the Desktop. Starting might take up to 1 minute. If the App does not start, please Restart the Photo System and wait until the App starts automatically. |
🚪 Exit the UpReach App
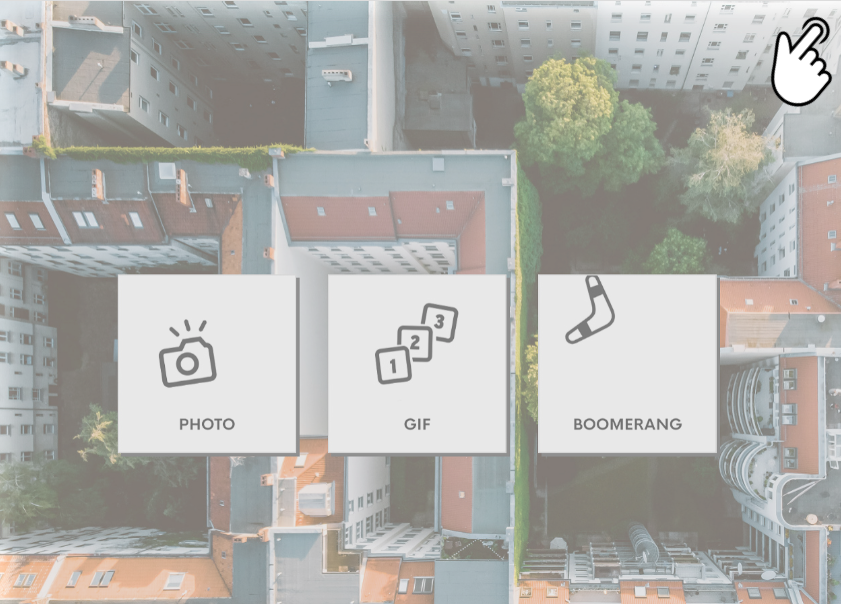
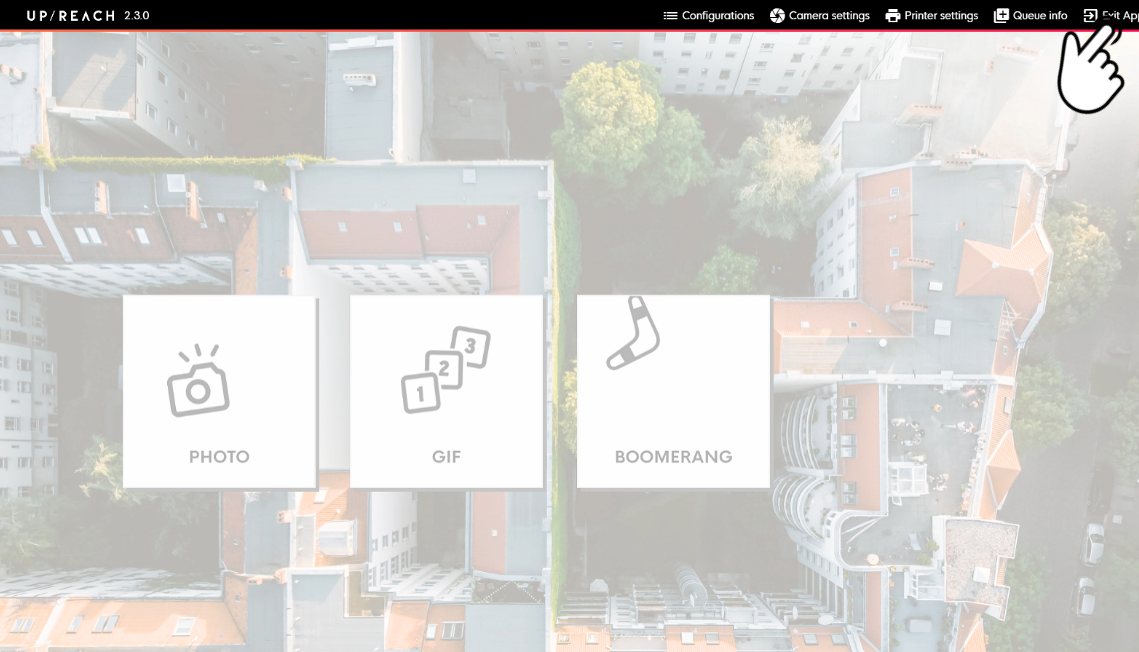
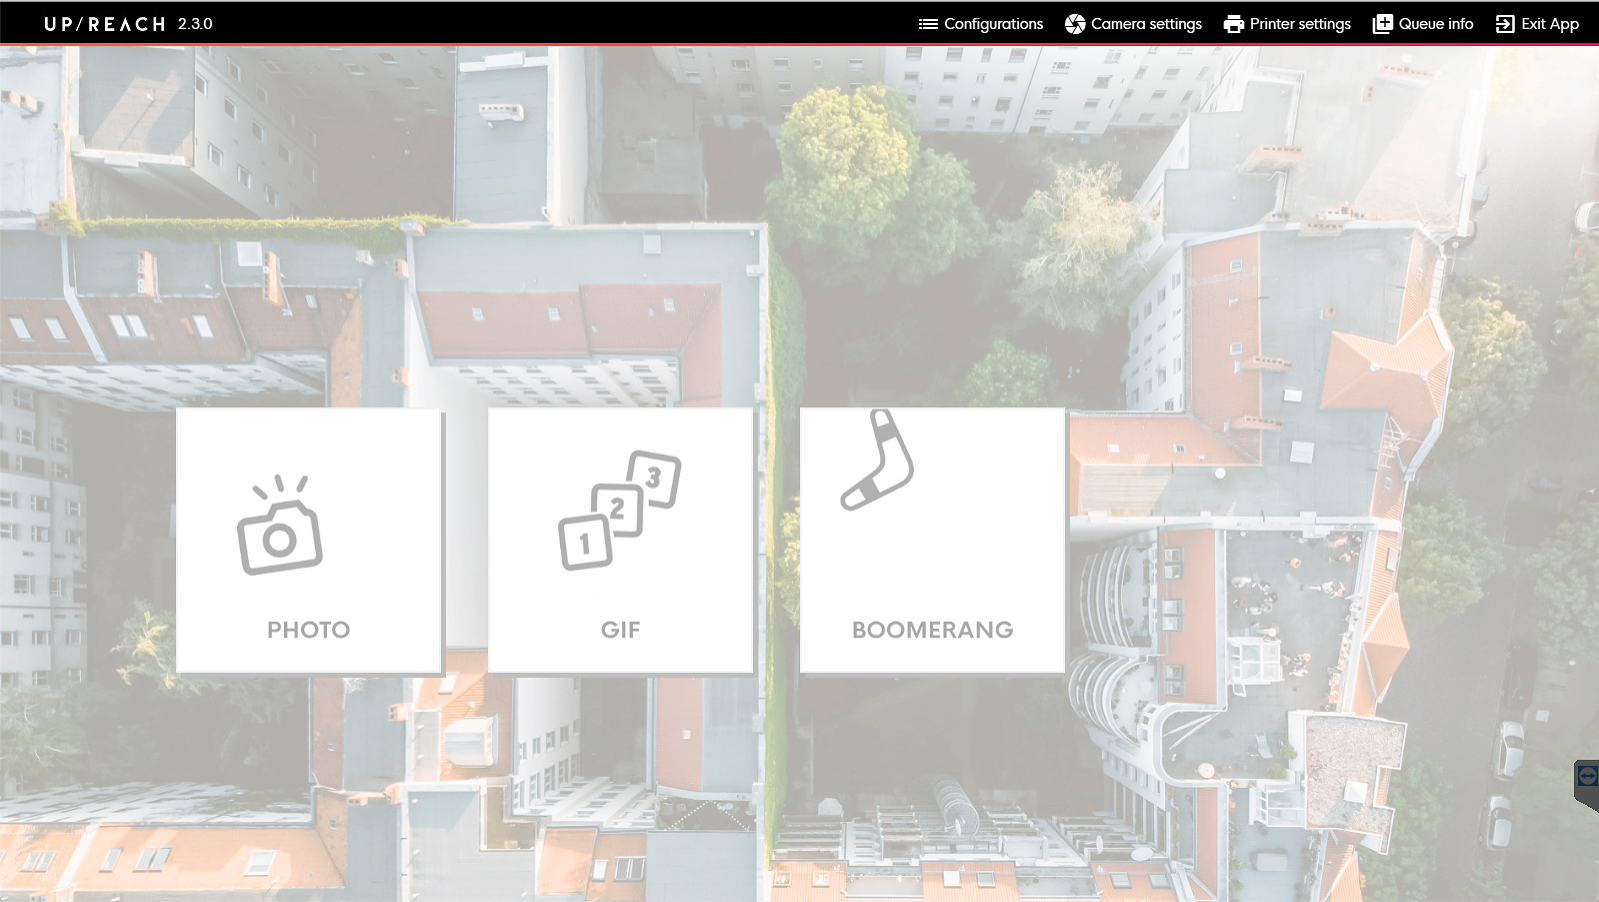
| 1 | While being on the Start Screen | Capture Modes of your user flow, tap on the upper right corner of the screen to open the header menu. | |
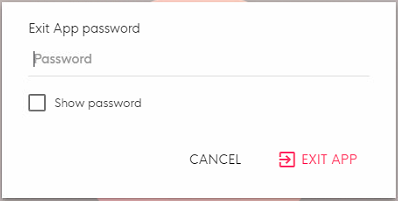
| 2 | Tap on the header menu item “Exit App” to open the exit password dialog. | |
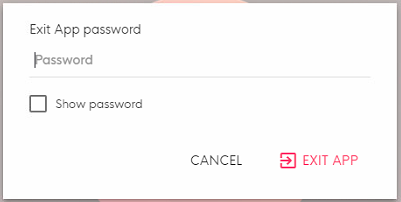
| 3 | Enter your Exit/settings password and tap “Exit App” to exit the UpReach App and get to the device’s desktop. |
🔁 Restart the device
To quickly restart the device (e.g. in case the screen is frozen), simply unplug its power connection, wait for 15 seconds and then reconnect it to power to start it again (see above).
First, exit the UpReach App (see above). Then continue with the following steps:
| 1 |
| |
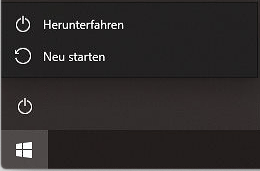
| 2 | Tap on the Windows start menu icon in the bottom left corner to open the start menu. If the Windows taskbar and the icon are not visible, tap on the “Networks” icon the the Desktop first to make the taskbar show up. | |
| 3 | Tap on the on/off icon (power icon). | |
| 4 | Choose shut down (Herunterfahren) or restart (Neu starten). |
⚙️ Access the settings
The UpReach App offers a selected range of local settings so you can adjust the App to your event. All general & user flow settings are done in the UpReach Cloud. To access the in-app settings or exit the App, tap on the upper right corner of the Start Screen | Capture Modes, select the desired settings section and enter your Exit/settings password. |
For further information please refer to In-App Settings.
📶 Connect to a local Wi-Fi network
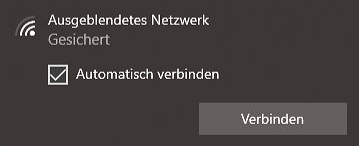
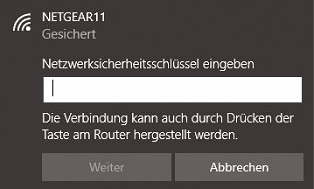
Open the on-screen touchscreen keyboard if needed by tapping on the “Keyboard” icon on the desktop or the taskbar. Tap the “Networks” icon on the Desktop or in the bottom right corner on the taskbar. Choose your desired Wi-Fi network & tap “Connect” (“Verbinden”). Make sure “Connect automatically” (“Automatisch verbinden”) is enabled if you want the computer to connect to the network automatically next time. If the network is protected: enter your password & tap “Continue” (“Weiter”). If the network is a public hotspot, you might be required to log in via the hotspot login page that usually opens automatically. If it doesn’t open automatically please contact your local network administrator to access the page via the browser. If your Wi-Fi is a hidden network you have to open Windows’s Wi-Fi settings, select “Manage known networks” (“Bekannte Netzwerke verwalten”) and choose “Add new network” (“Neues Netzwerk hinzufügen”). There you can enter the network details. Please contact your local network administrator for further information.1 2 3 4 5
🌐 Connect to a local LAN/Ethernet network
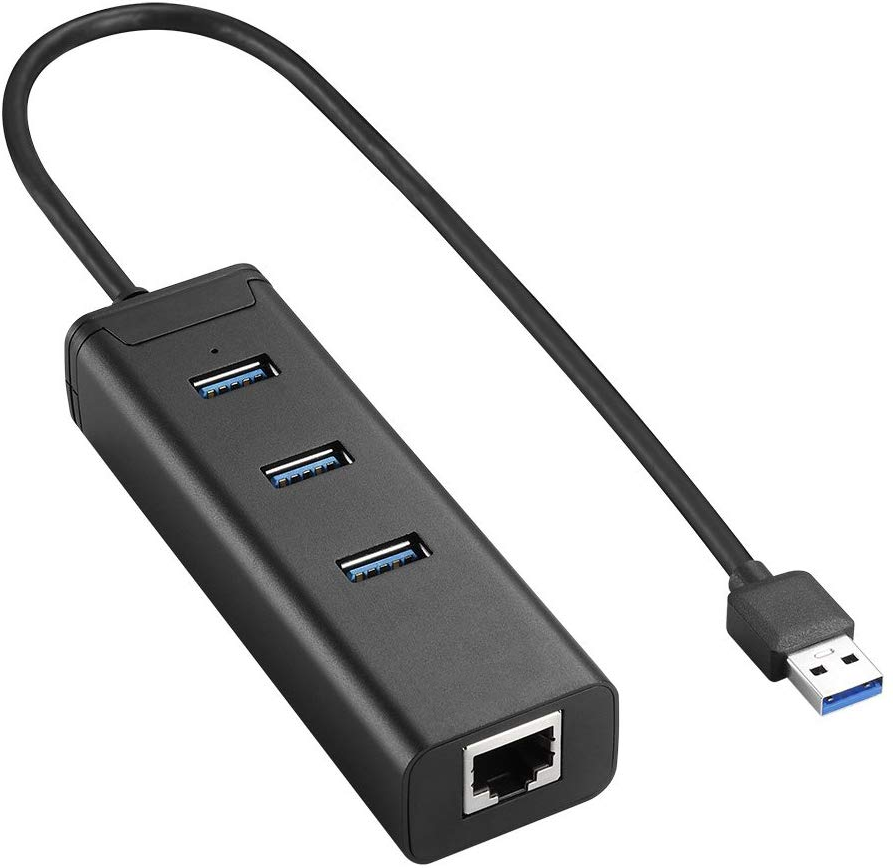
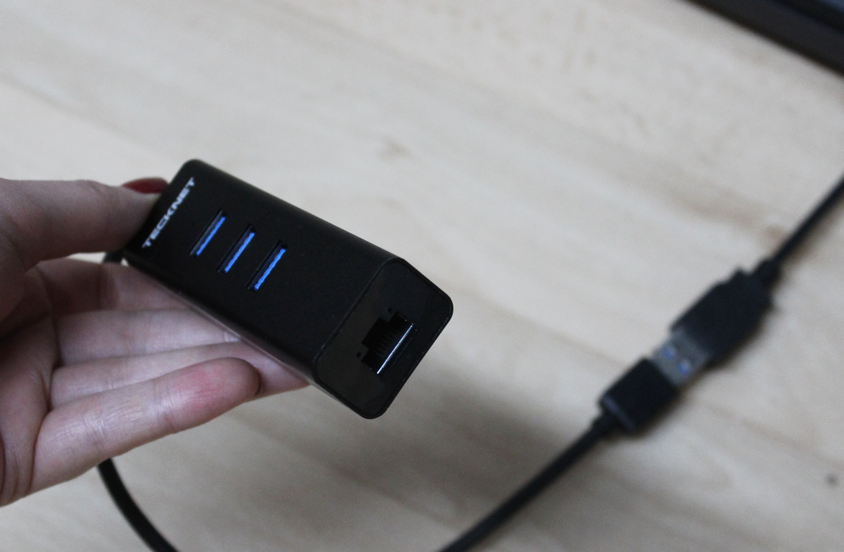
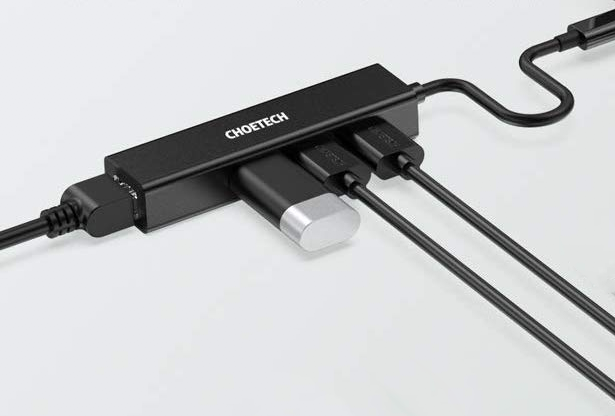
To connect your device to a local LAN/Ethernet network, simply use the enclosed USB-hub.
| 1 | Get the USB hub from the adapter set enclosed with the device. | |
| 2 | Connect the USB hub to the device’s USB outlet. | |
| 3 | Connect your LAN/Ethernet cable to the according port at the end of the USB hub. Connect the UpReach Printer and any other required devices to the USB ports of the USB hub. | |
| 4 | Wait for a few minutes until the connection is established. The device automatically priorizes Ethernet over Wi-Fi. If you have issues connecting to the internet please contact your local network administrator or technician. |
|
💡 Issue solving
Most issues can be solved by simply restarting the UpReach App oder the device (see above or Restart the Photo System).
For most common issues and how to solve them, please refer to Known issues & solutions 🇬🇧.

